

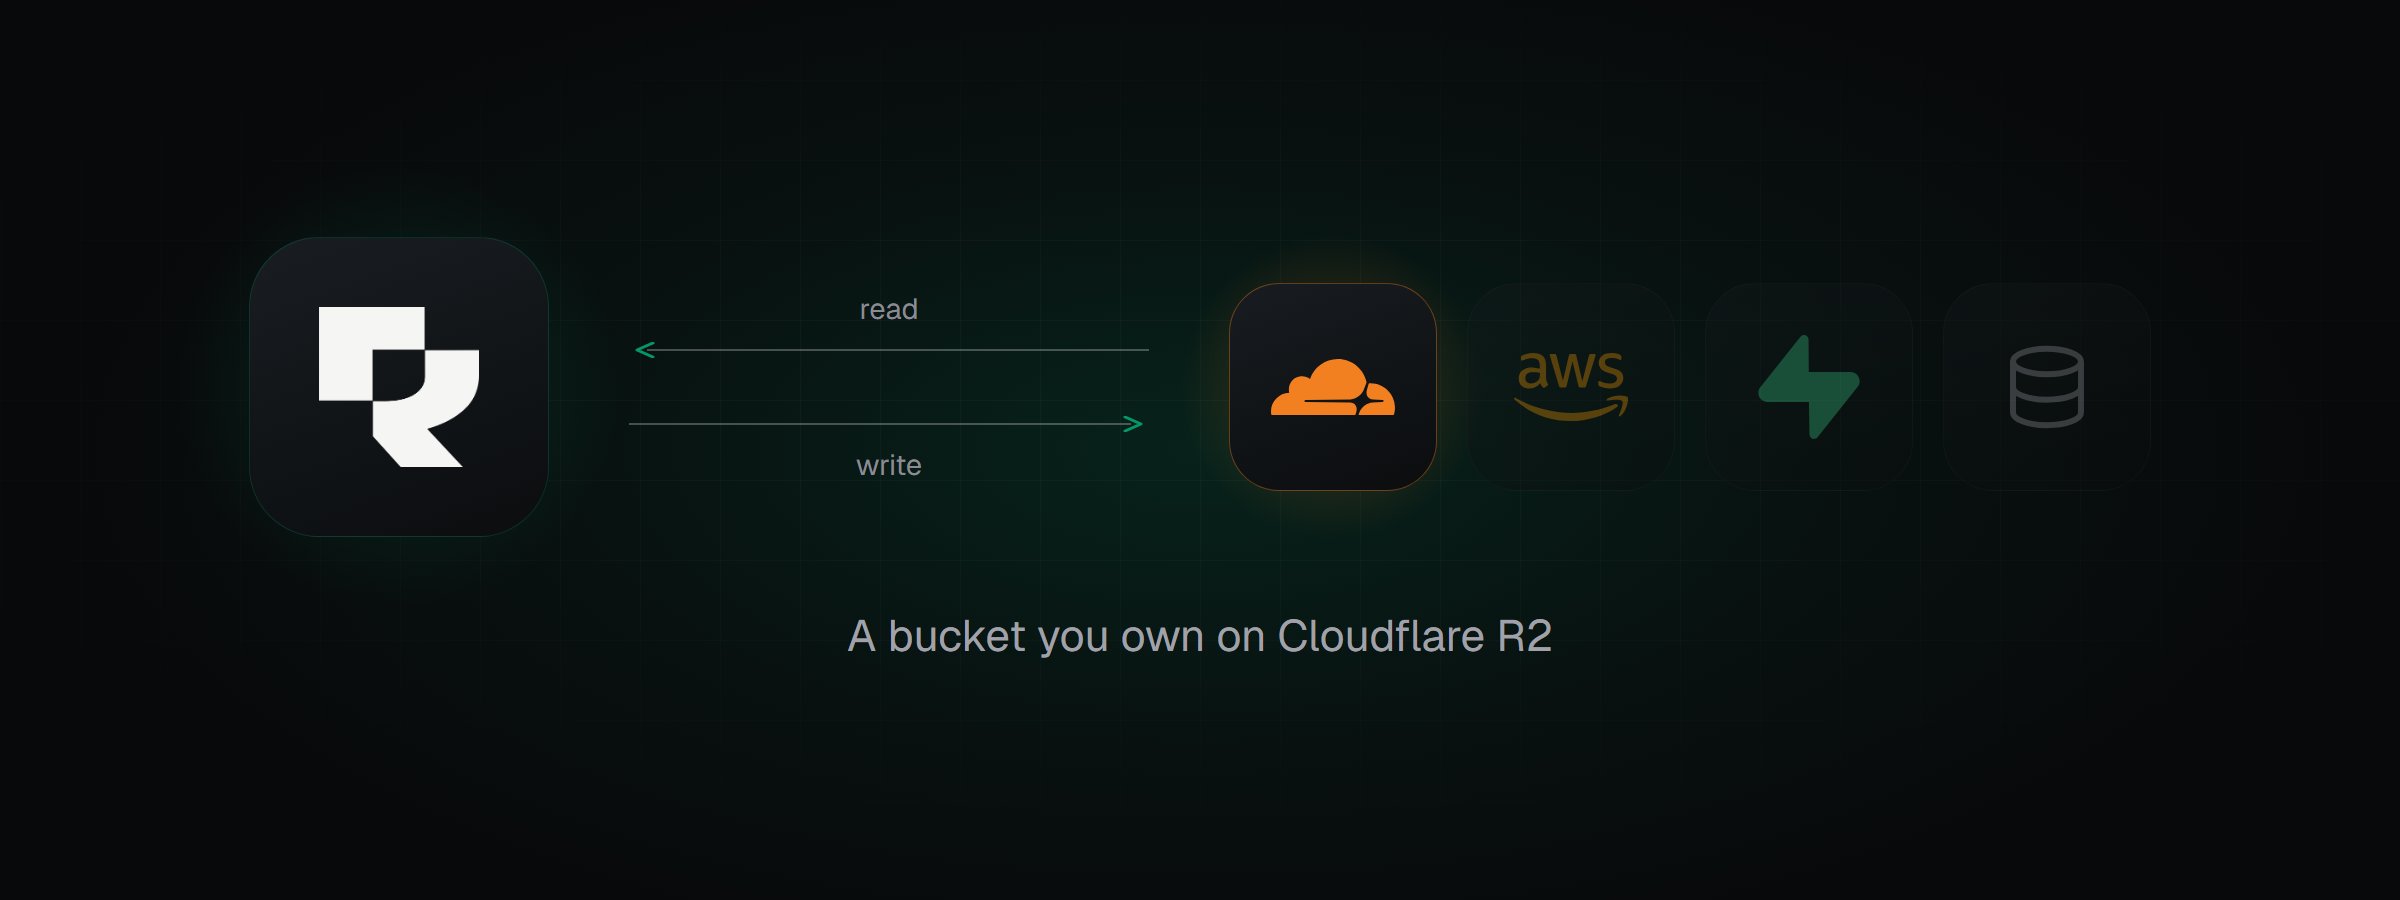
Rendobar reading inputs from an R2 bucket and writing outputs back.
Prerequisites
You need a Cloudflare account with an R2 bucket. R2 accepts two kinds of credential. Choose one with Key type in the connect dialog:
This page uses an API token. To use a key pair instead, see Connect with an access key and secret.
1. Create an R2 API token
- In the Cloudflare dashboard, go to R2 Object Storage > Manage API tokens.
- Select Create Account API token.
- Under Permissions, select Object Read & Write.
- Under Specify bucket(s), select Apply to specific buckets only, then select your bucket.
- Select Create Account API Token.
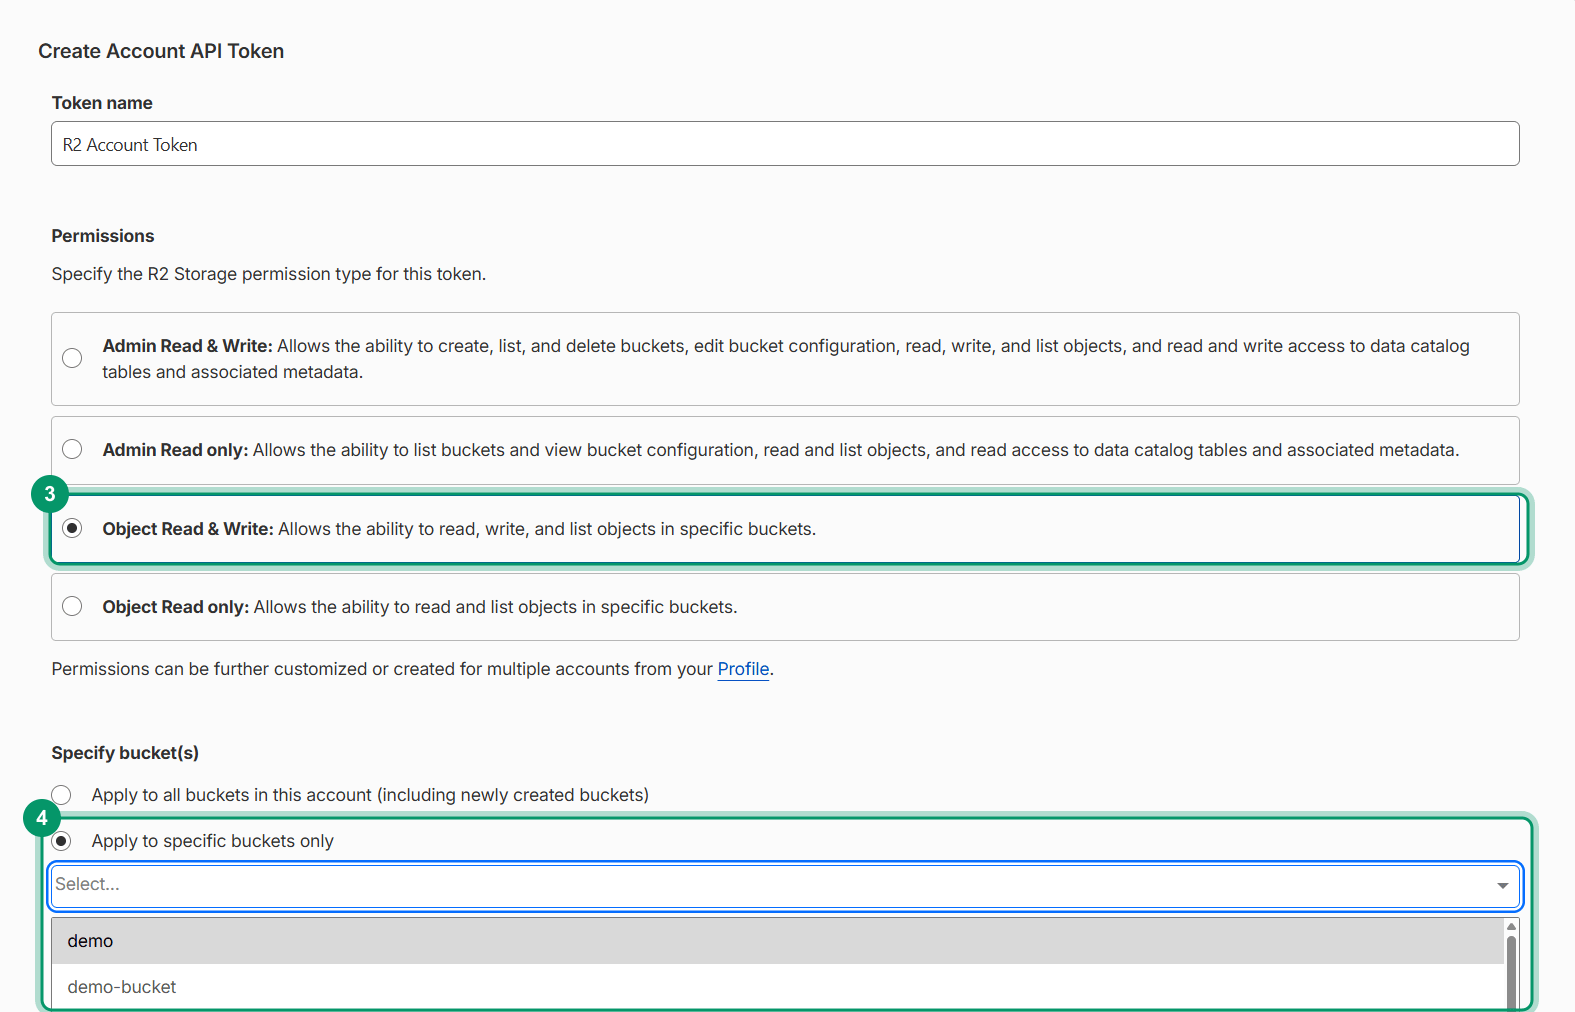
Object Read and Write, applied to one bucket.
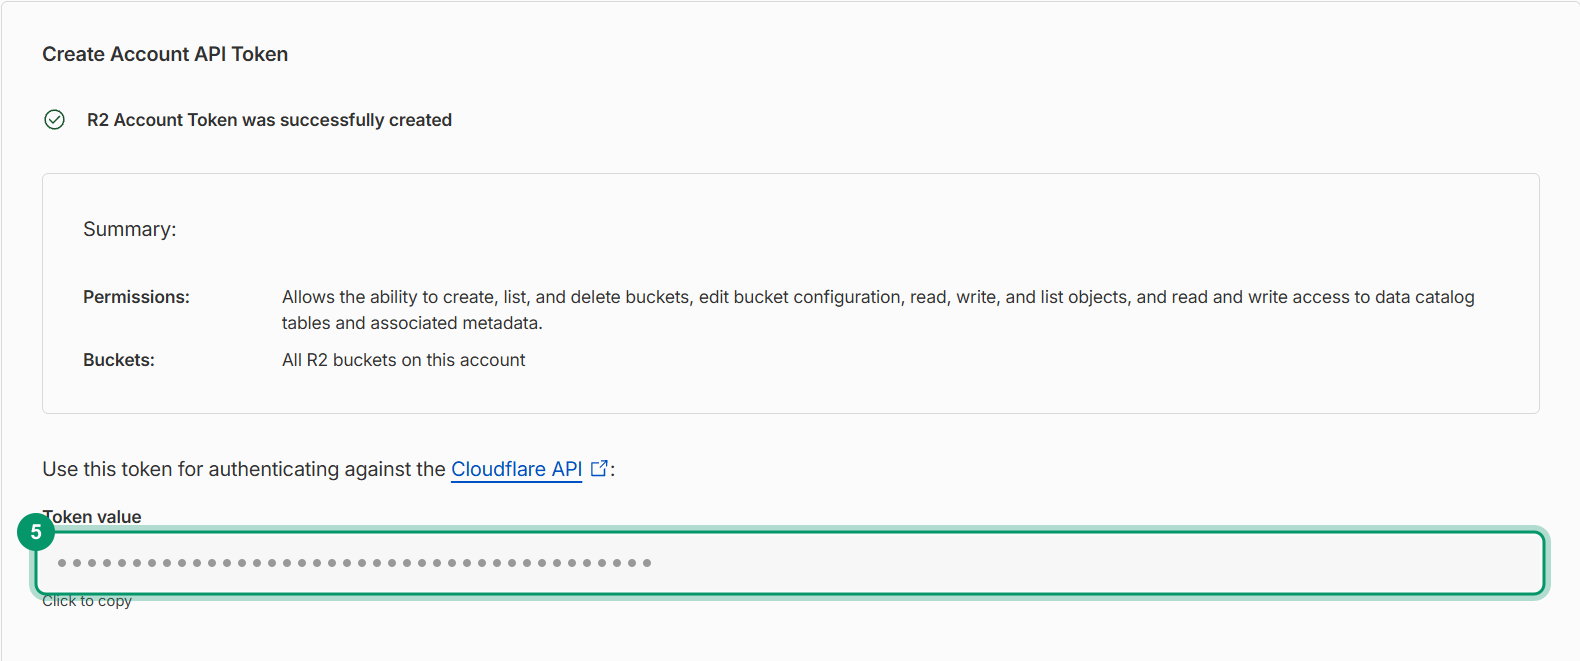
The created token.
2. Connect the bucket
- In Storage, select Connect Storage, then Cloudflare R2.
- In API token, paste the token. In Bucket, enter the bucket name.
- (Optional) Under More options, change the ID. Jobs use it to reference the bucket.
- Select Connect.
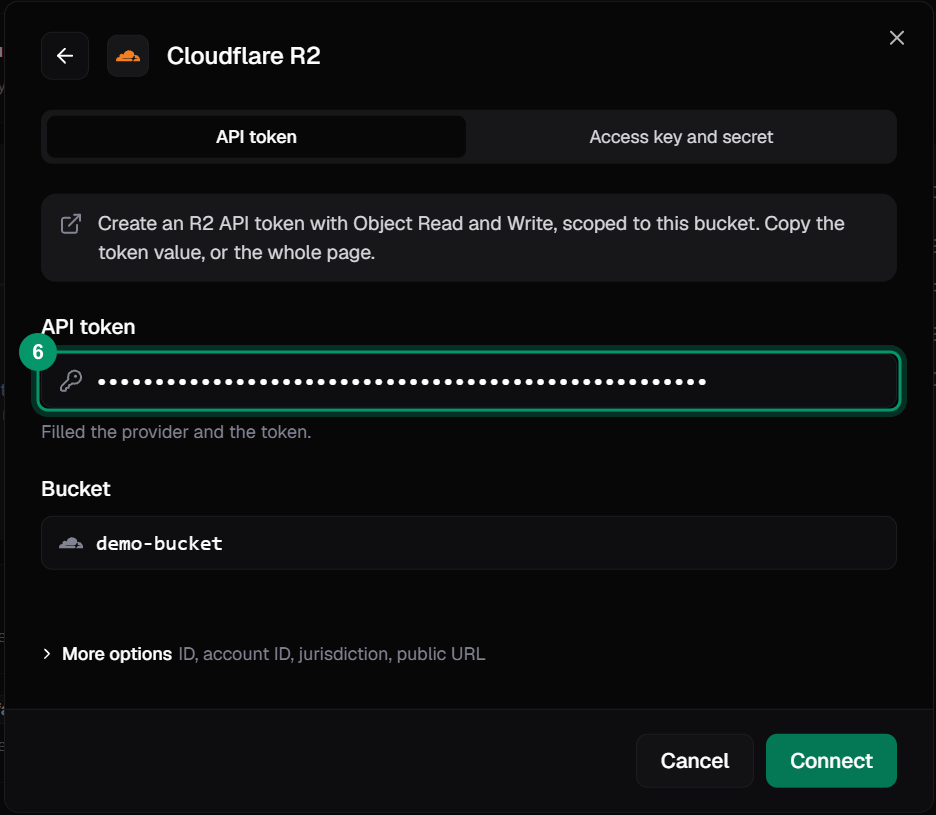
The R2 connect dialog with a token and bucket name entered.
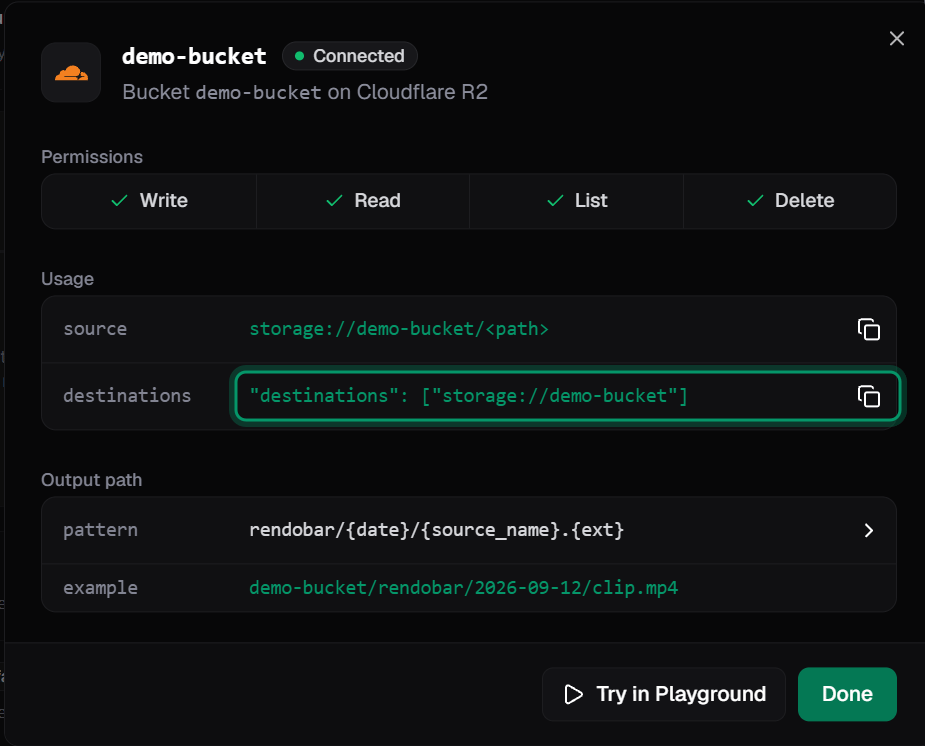
A connected bucket, with the access checks passed and the storage URIs to use in jobs.
3. Use the bucket in a job
Put an object ininputs to read it, and the connection in destinations to write the output:
exports/clip.mp4. Delivery finishes after the job, so job.deliveries can still show pending when run returns.
To change how outputs are named, see delivery settings. If a delivery fails, see delivery errors.
How do I revoke access?
- In the Cloudflare dashboard, go to R2 Object Storage > Manage API tokens.
- Delete the token used by the connection.
Connect with an access key and secret
If you already have an S3 key pair for the bucket, set Key type to Access key and secret, then enter:- Account ID: 32 hexadecimal characters, shown on the R2 overview page
- Access Key ID and Secret Access Key: from the key pair
https://<account-id>.r2.cloudflarestorage.com.
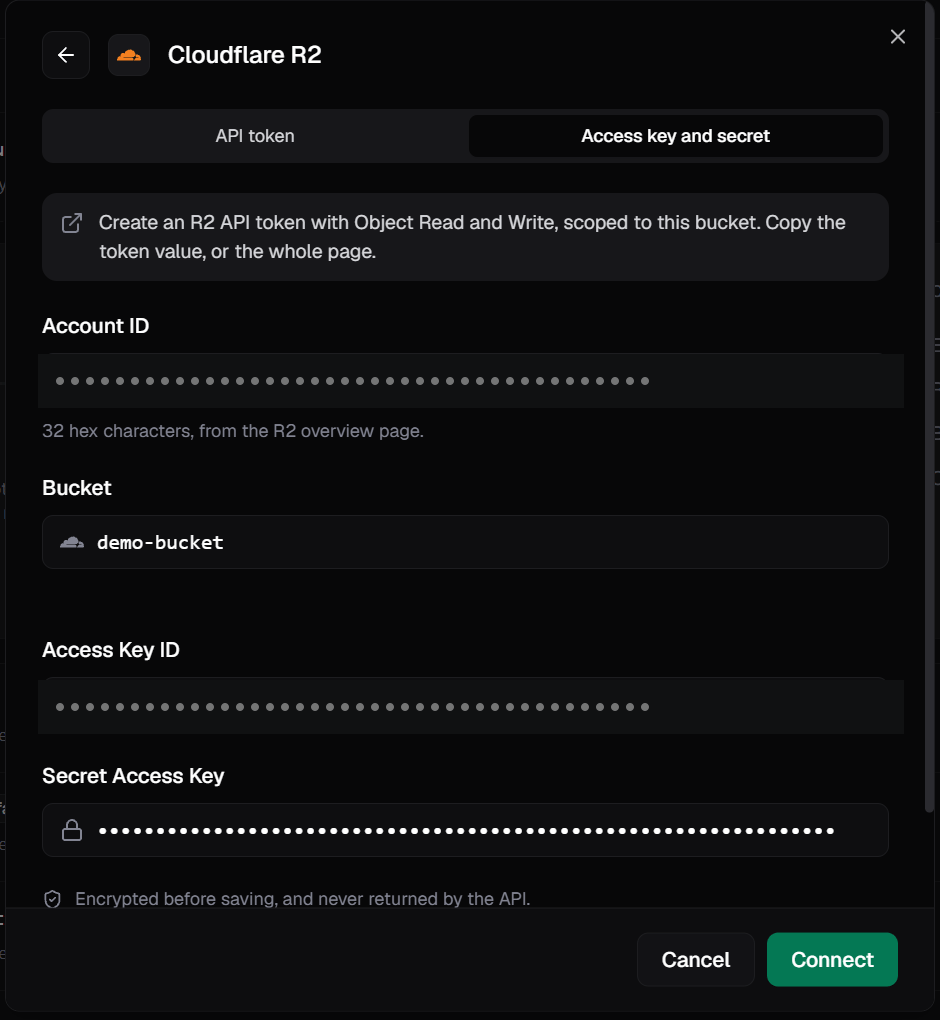
The R2 connect dialog on the Access key and secret tab.
R2-specific behavior
Jurisdictions. Buckets in the EU or FedRAMP jurisdiction use a different endpoint. Set the jurisdiction under More options when you connect. Public URLs. Use the bucket’s r2.dev domain or a custom domain as the connection’s public URL. Egress. R2 does not charge for egress. See R2 pricing, and running FFmpeg on files in R2 for how that compares with S3.Next steps
Storage connections
Connection ids, delivery settings, credentials, and error codes.
Jobs
Where
inputs and destinations appear in the job payload.SDK
Submit the job above in TypeScript.
Webhooks
Receive an event when a job completes.