

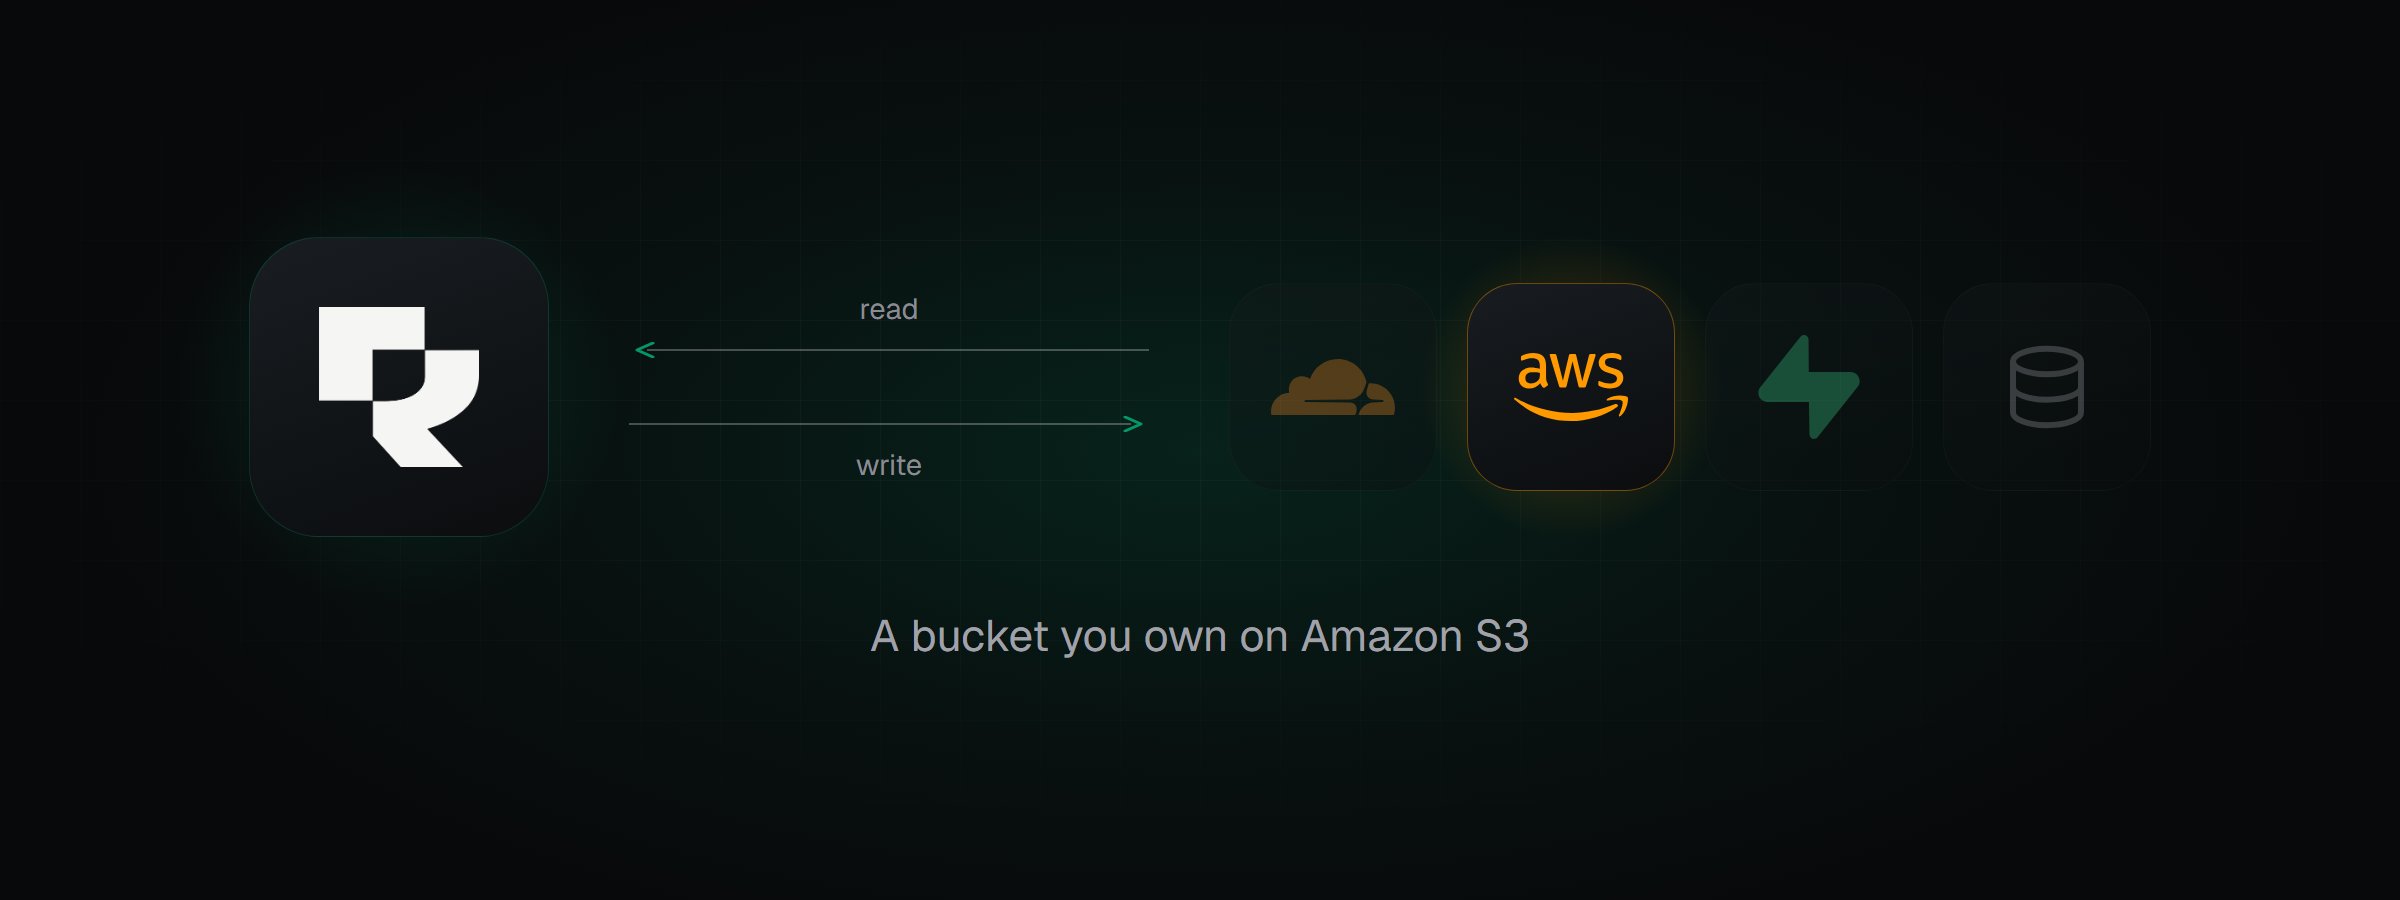
Rendobar reading inputs from an S3 bucket and writing outputs back.
Prerequisites
You need an AWS account with permission to create CloudFormation stacks and IAM roles. The bucket can already exist, or the stack can create it. Amazon S3 offers two ways to connect. Choose one in the connect dialog:
This page uses One-click role. To use keys instead, see Connect with access keys.
1. Prepare the role in Rendobar
- In Storage, select Connect Storage, then Amazon S3.
- Select One-click role.
- In Bucket, select or enter the bucket name. Rendobar looks up the bucket and shows its region. Bucket names are global, so check that the bucket is in your AWS account.
-
Under Access, choose what the role can do:
- Deliver and read: write job outputs to the bucket, and read files from it.
- Read only: read files only, for a bucket you use for job inputs. A read-only connection cannot be a destination.
- (Optional) Under More options, turn on Create the bucket, or change the ID, region, or public URL.
- Select Create the Role in AWS. The AWS console opens in a new tab.
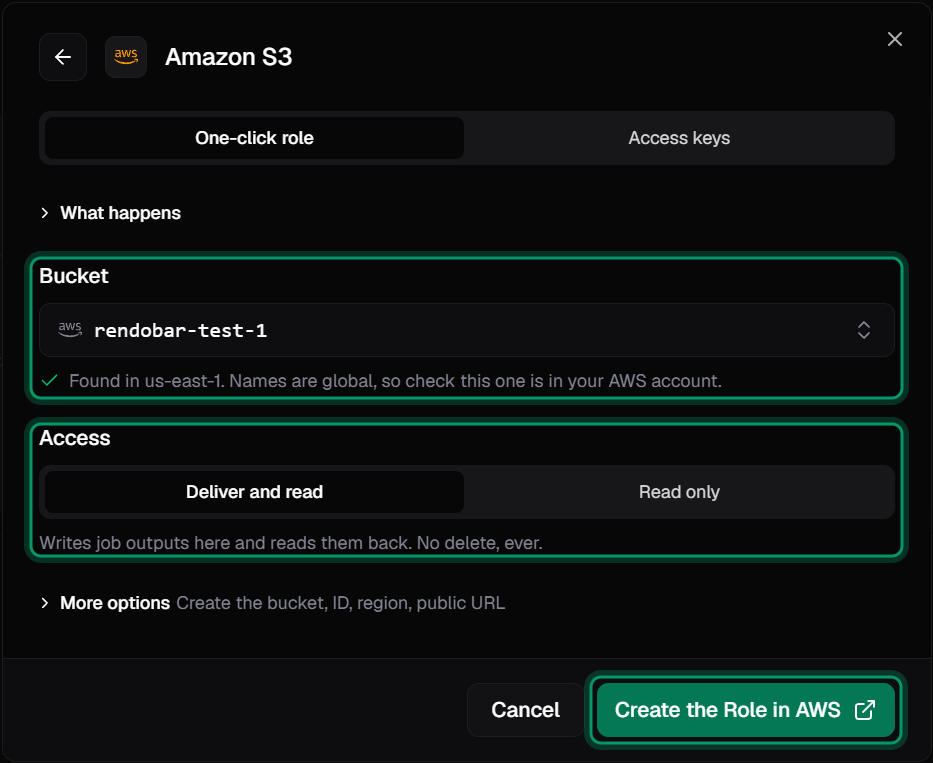
The bucket, the role's access, and Create the Role in AWS.
2. Create the stack
The AWS console opens the stack with every value filled in. Check that the console is signed in to the AWS account that owns the bucket, and leave the values as they are.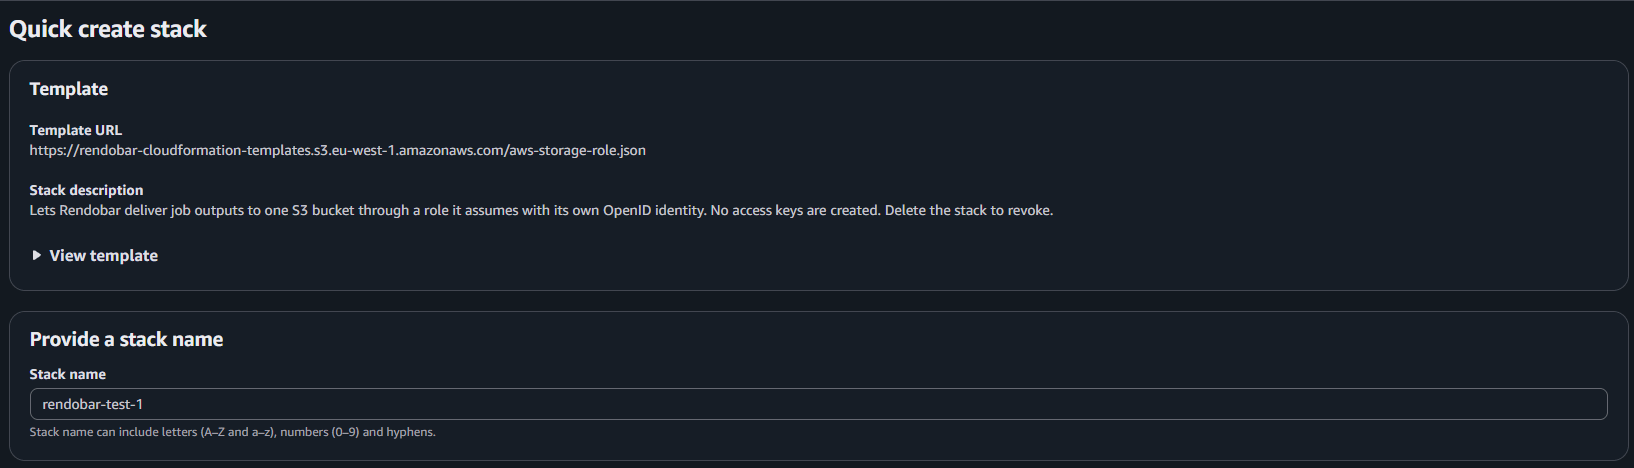
The quick create page, with Rendobar's template and the stack name filled in.
- Under Capabilities, select I acknowledge that AWS CloudFormation might create IAM resources with customised names.
- Select Create stack.

The acknowledgement and Create stack.
The role’s policy allows these actions:
With Read only, the role does not get
s3:PutObject or s3:AbortMultipartUpload.
3. Wait for the connection
Return to Rendobar. The dialog follows the stack, which usually finishes in under two minutes. When the stack reports, Rendobar assumes the role, runs the access checks, and saves the connection. If you close the dialog, the connection still finishes.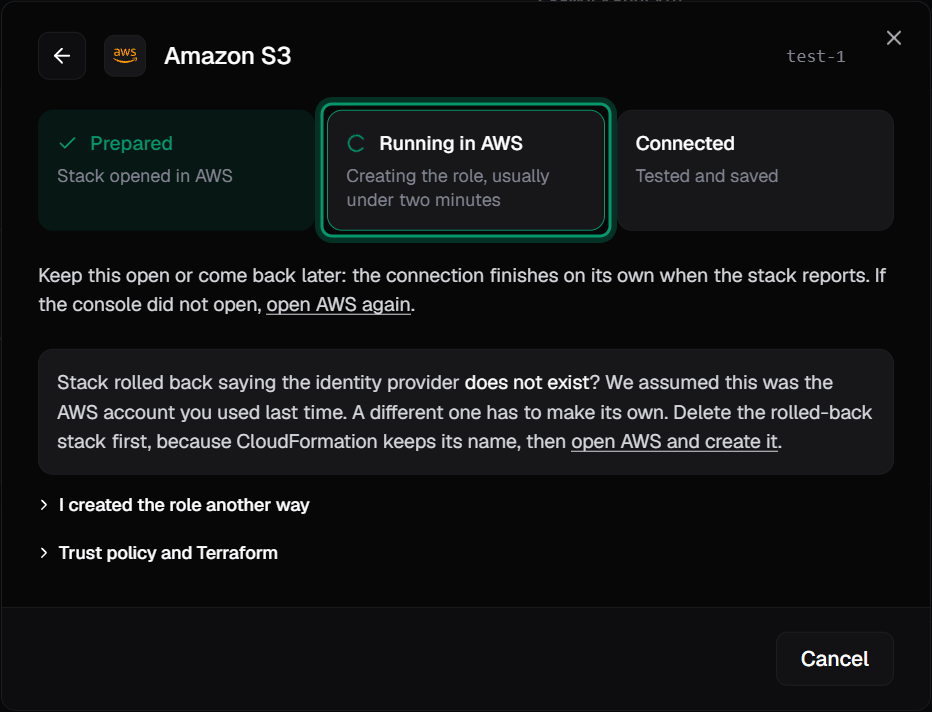
Rendobar waiting for the stack to report.
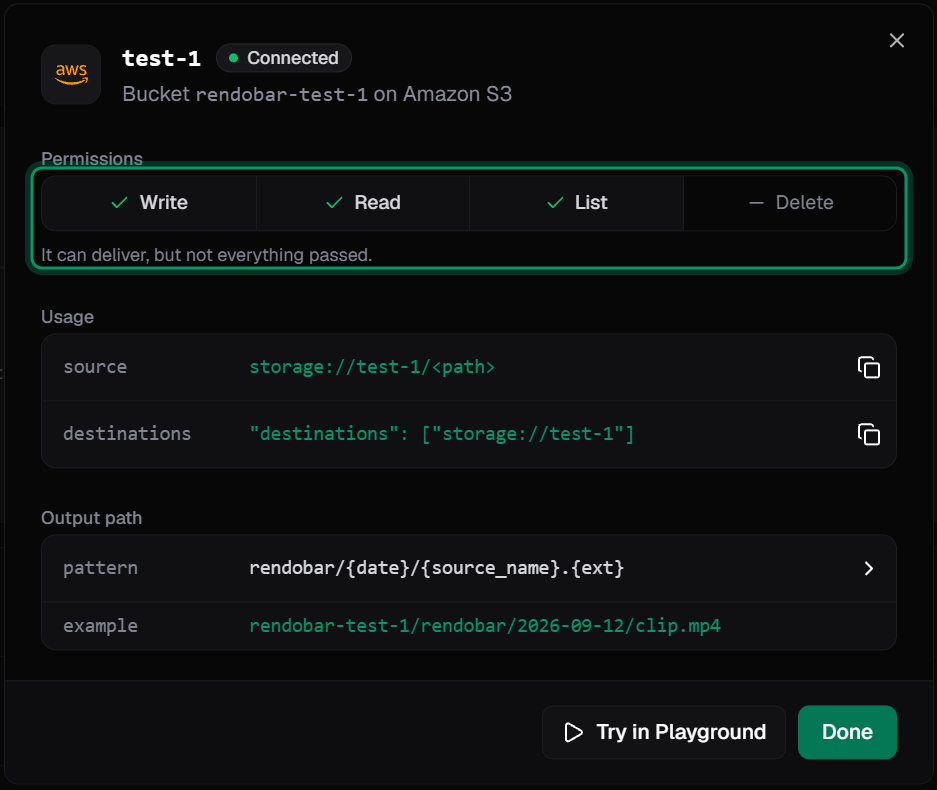
A connected bucket. Delete is not checked, because the role cannot delete objects.
.rendobar/probe-<uuid>. You can delete it.
A read-only connection writes nothing to the bucket, not even a test object, so Write also shows a dash.
4. Use the bucket in a job
Put an object ininputs to read it, and the connection in destinations to write the output:
exports/clip.mp4. Delivery finishes after the job, so job.deliveries can still show pending when run returns.
To change how outputs are named, see delivery settings. If a delivery fails, see delivery errors.
Troubleshooting
Create the role another way
To create the role with Terraform or by hand, open Trust policy and Terraform in the waiting dialog and copy either one. Create the role with a maximum session duration of 12 hours, which the Terraform already sets. Then select I created the role another way, and paste the role’s ARN. Rendobar runs the access checks as soon as you finish.How do I revoke access?
Delete the stack in CloudFormation. This deletes the role, and Rendobar removes the connection. The OpenID Connect provider, and any bucket the stack created, stay in the account. For a role you created another way, delete the role in IAM. Deleting the connection in Rendobar does not delete the role.Connect with access keys
- In the AWS console, create an IAM user, and attach the policy that the connect dialog shows under IAM policy for this bucket.
- Create an access key for the user.
- In the connect dialog, select Access keys, then enter the bucket name, Access Key ID, and Secret Access Key. Rendobar finds the bucket’s region.
- Select Connect.
S3-specific behavior
Name conflicts. S3 refuses a conditional write to a key that exists, so Keep both works. When two outputs share a name, Rendobar adds the end of the job id to the new one.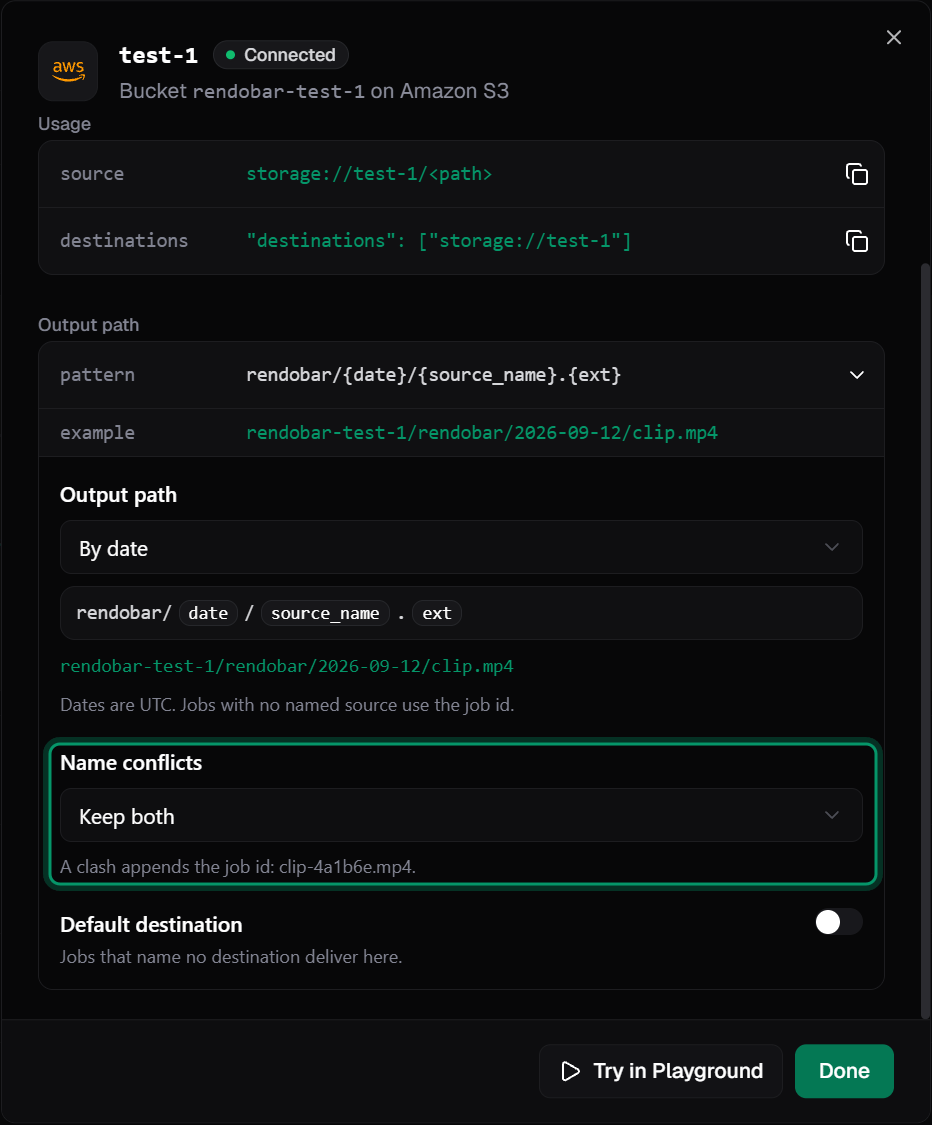
Keep both, available on an S3 bucket.
kms:GenerateDataKey to write and kms:Decrypt to read, on the bucket’s key.
Next steps
Storage connections
Connection ids, delivery settings, credentials, and error codes.
Jobs
Where
inputs and destinations appear in the job payload.SDK
Submit the job above in TypeScript.
Webhooks
Receive an event when a job completes.